For older hearing aids with an extended vent, special care is required. Utilize the wire tool provided in your kit to ensure proper cleaning, as modern models typically do not feature this component.
To swap out the guard, simply use the tool’s black end to remove the old guard and the white end to insert the new one. A quick wipe down with a microfiber cloth will help maintain cleanliness once the task is completed.
Keep those ears happy and stay on top of maintenance! And if your ear tips appear worn out, it’s a signal to replace them with fresh ones. Your hearing aids likely came with extra tips, or you can easily order more from the manufacturer. Just remember, always store your hearing aids in their case – no exceptions!
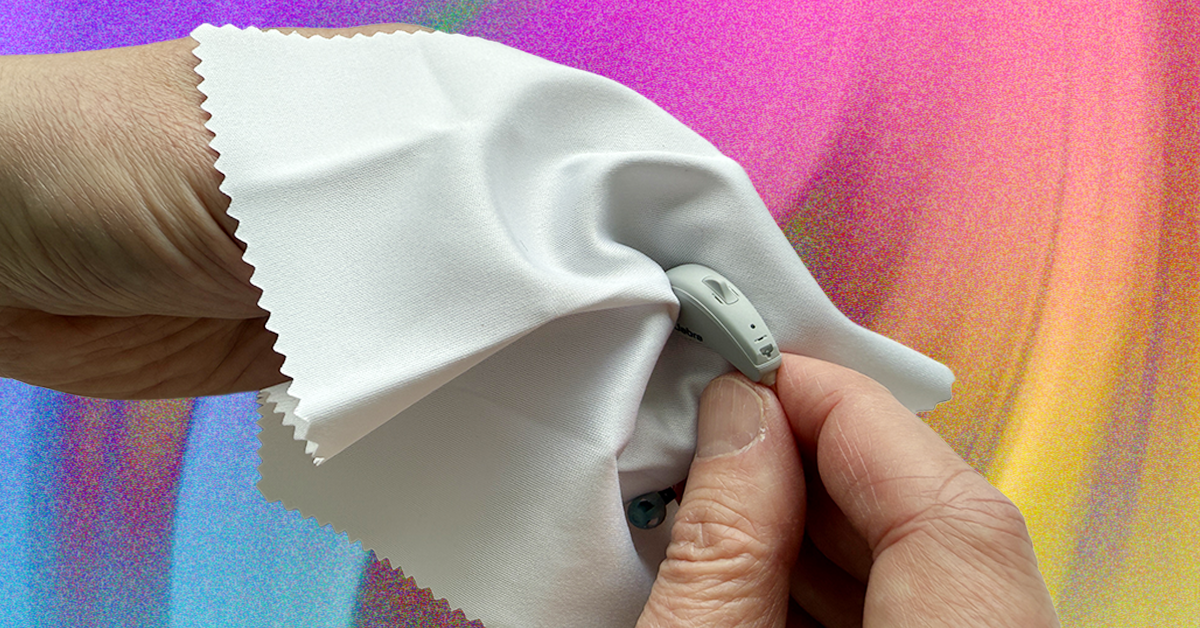
Interested in keeping your hearing aids in top-notch condition? No problem at all! Begin by delicately brushing the dome of each ear tip to remove any wax residue. For any stubborn debris, utilize the wire loop on the brush to carefully remove it. Remember to inspect the receiver’s backside too! A swift wipe with a microfiber cloth will effectively clear away any dirt or debris.
Beneath each ear tip, a small white wax guard serves as a protective barrier to prevent debris buildup. It’s recommended to replace it with a new guard approximately every month to ensure optimal performance. You can easily find replacements in the plastic case included with your hearing aid, so you won’t misplace them.