When my smart TV starts acting up with its Wi-Fi connection, I no longer point fingers at the TV itself; now, I blame the Wi-Fi network. Most of the time, it’s the router causing the issue. Sometimes just a simple reset can do the trick, but fixing Wi-Fi problems on a smart TV often requires a bit more finesse.
This method is my go-to, besides establishing a separate network, especially when streaming 4K content and needing extra bandwidth to prevent buffering. Thanks to this setup, no one at home complains about slow Wi-Fi, so my family seems content.
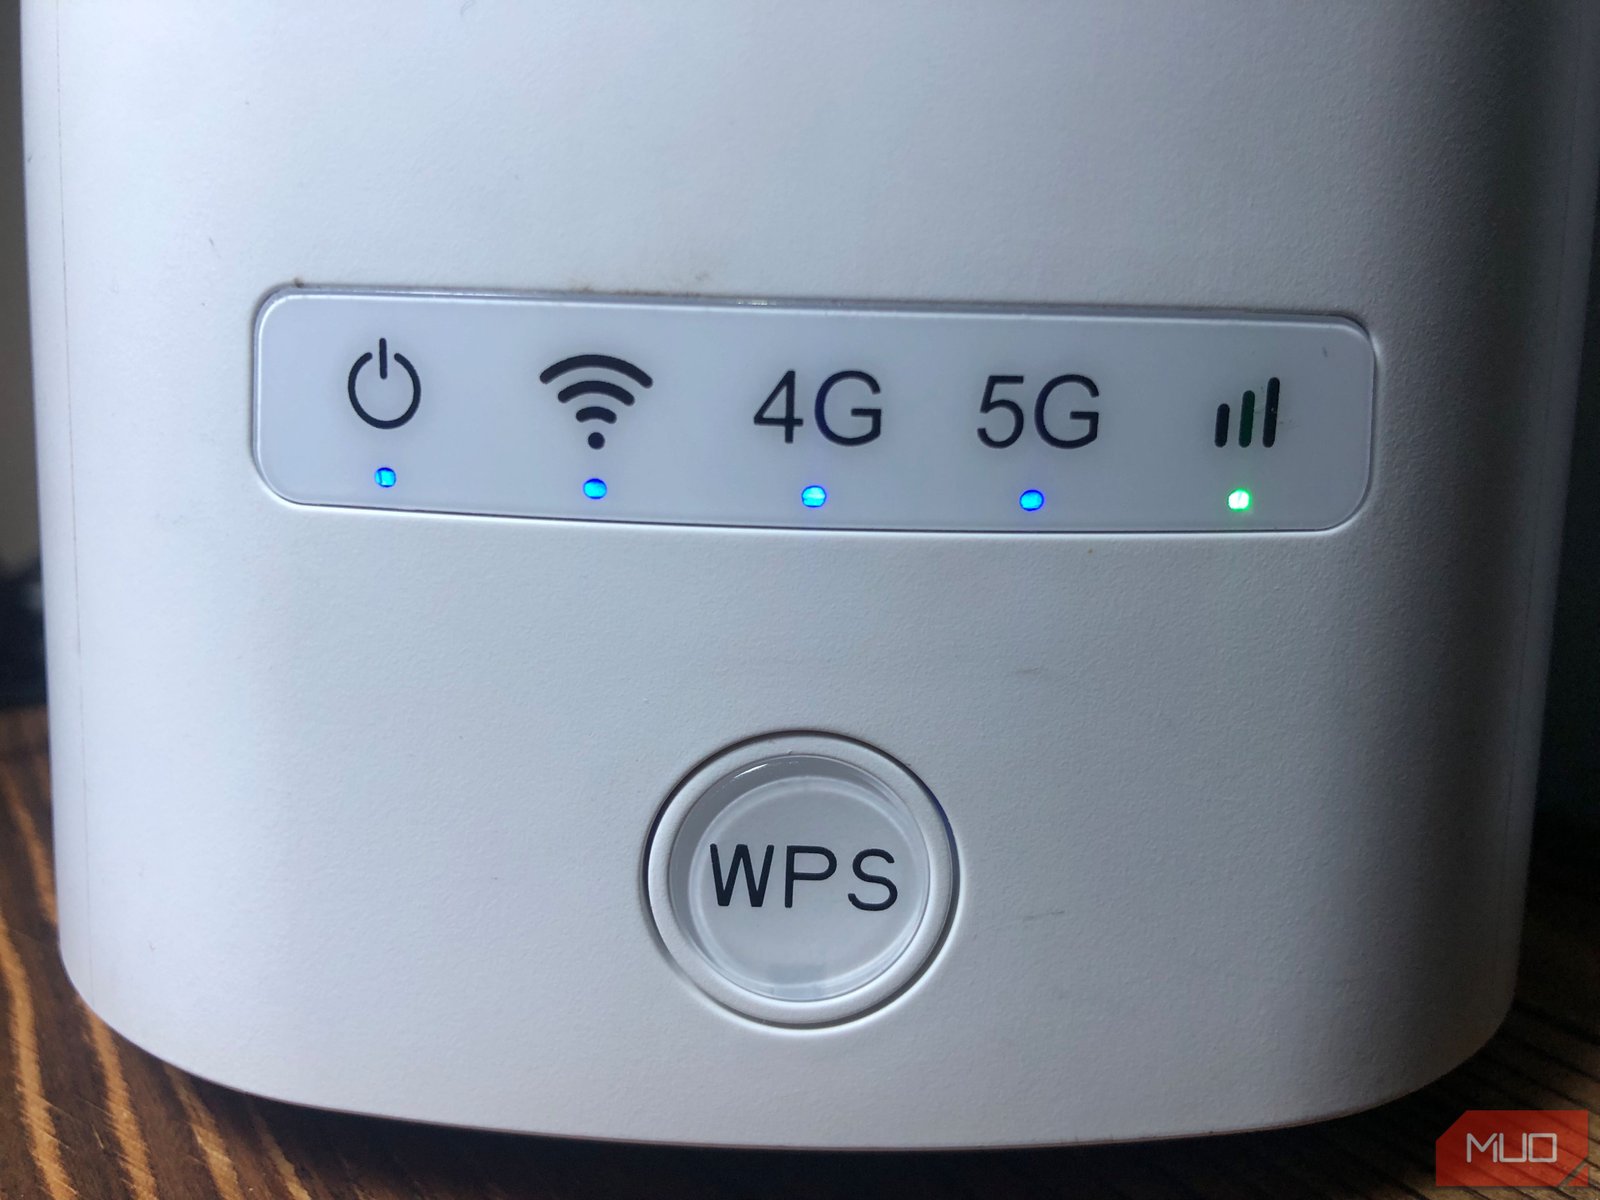
What I like to call a “fresh start,” by giving both your router and smart TV a reboot, you can clear out any temporary files that might be causing the connection issues. Simply unplug the power cable of both devices for a full 60 seconds. While your router establishes its connection again, head over to your smart TV.
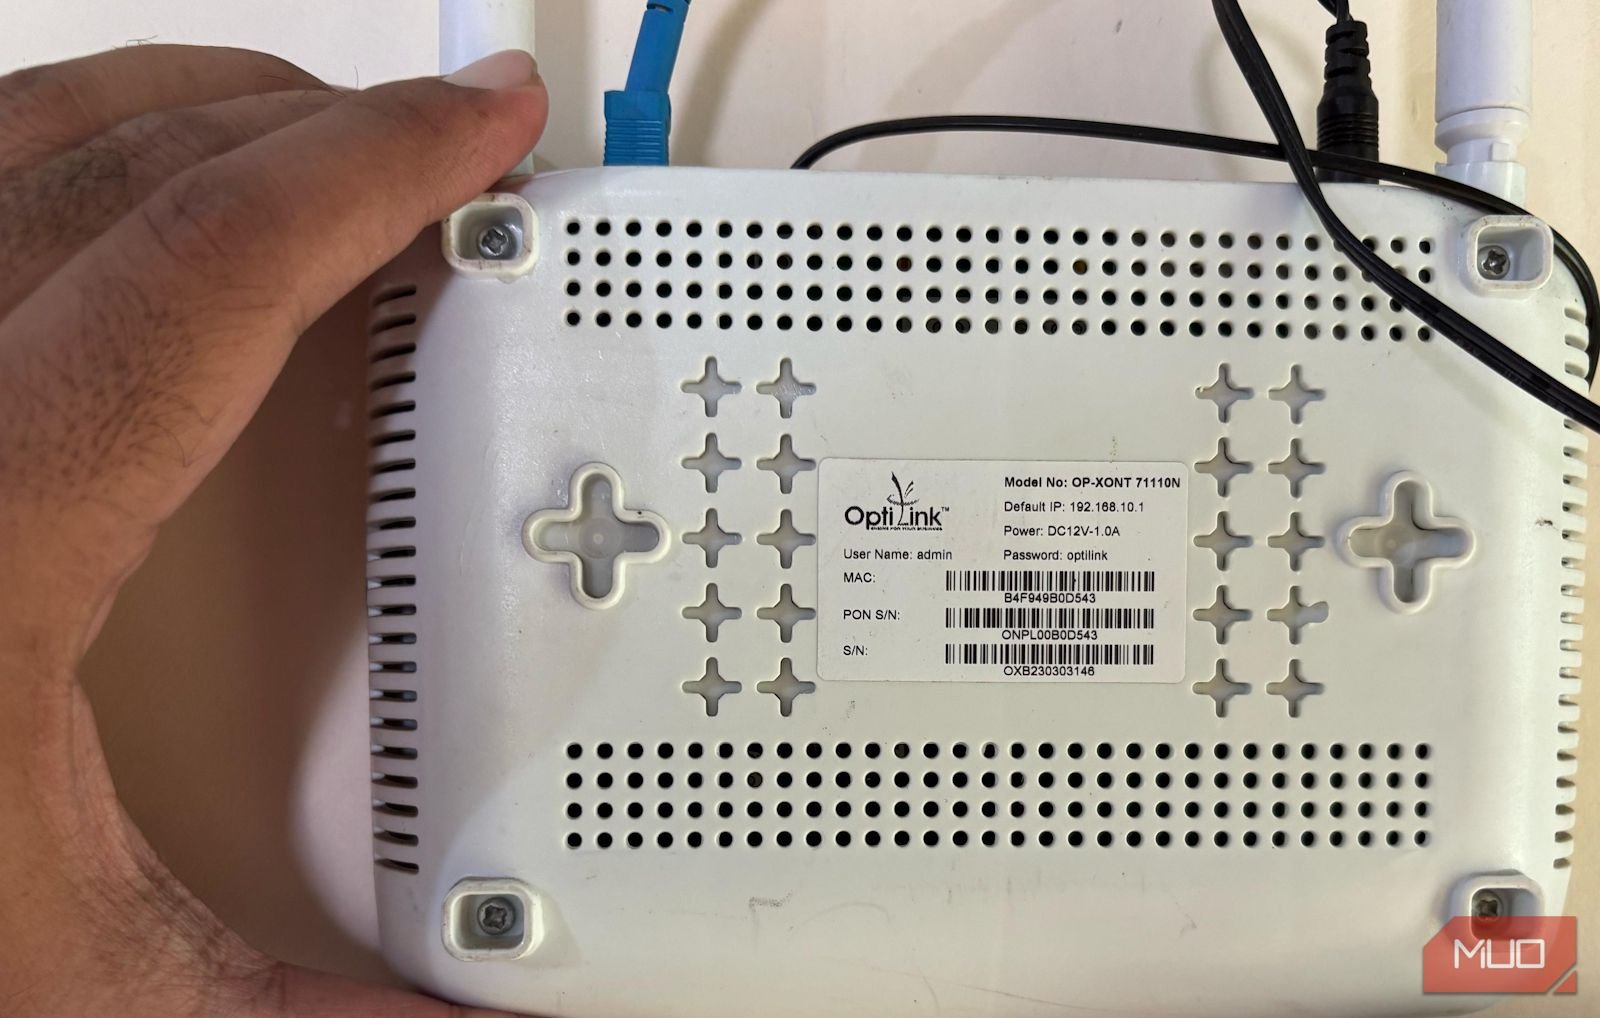
If your router has the Quality of Service (QoS) feature, prioritize your smart TV to allocate it a higher bandwidth. Understanding your router’s features is crucial, but locating and configuring QoS settings generally involves identifying your smart TV among connected devices and adjusting the bandwidth accordingly.
Creating a guest network is similar to enabling Quality of Service (QoS) in your router settings or accessing it through your internet provider’s app. If your provider doesn’t offer an app, access the router’s IP address via a browser to create a guest Wi-Fi network.
Even if your smart TV’s Wi-Fi issues were just a one-time occurrence, it’s always good to consider these options for preventive measures, whether adjusting router priorities or setting up a dedicated network for your smart TV.
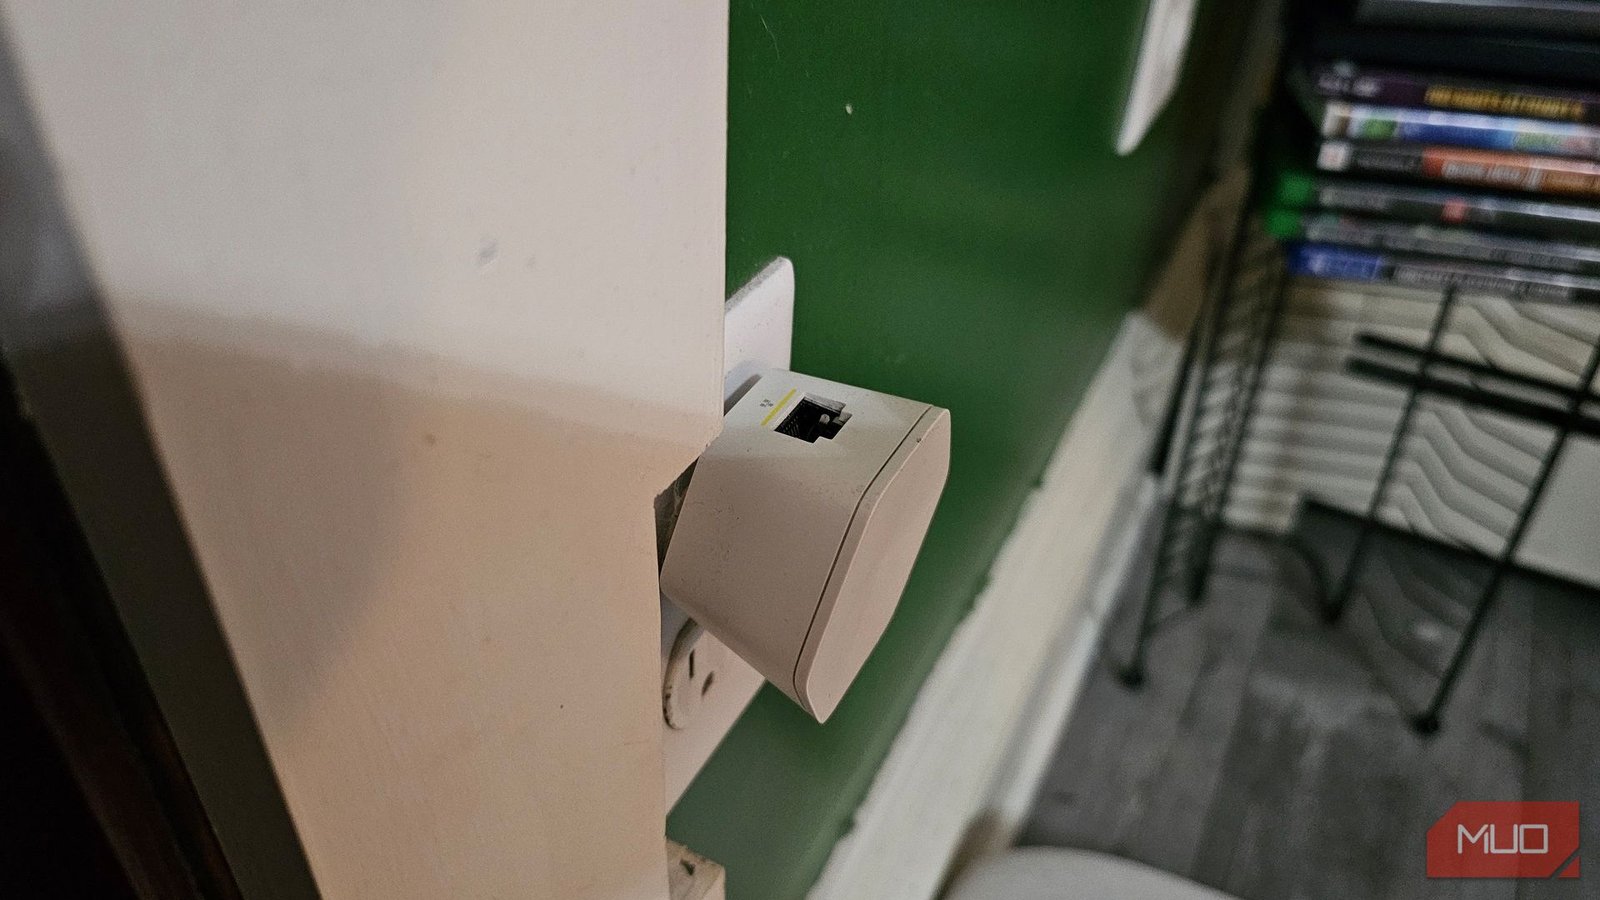
I faced a similar issue myself. It turns out, in houses with multiple rooms and old timber wood, the Wi-Fi signal can be inconsistent. Moving the router to a better location and adding a couple of Xfinity xFi Pods improved the connection for my smart TV. Additionally, the xFi pods were equipped with Ethernet, which I found quite handy.
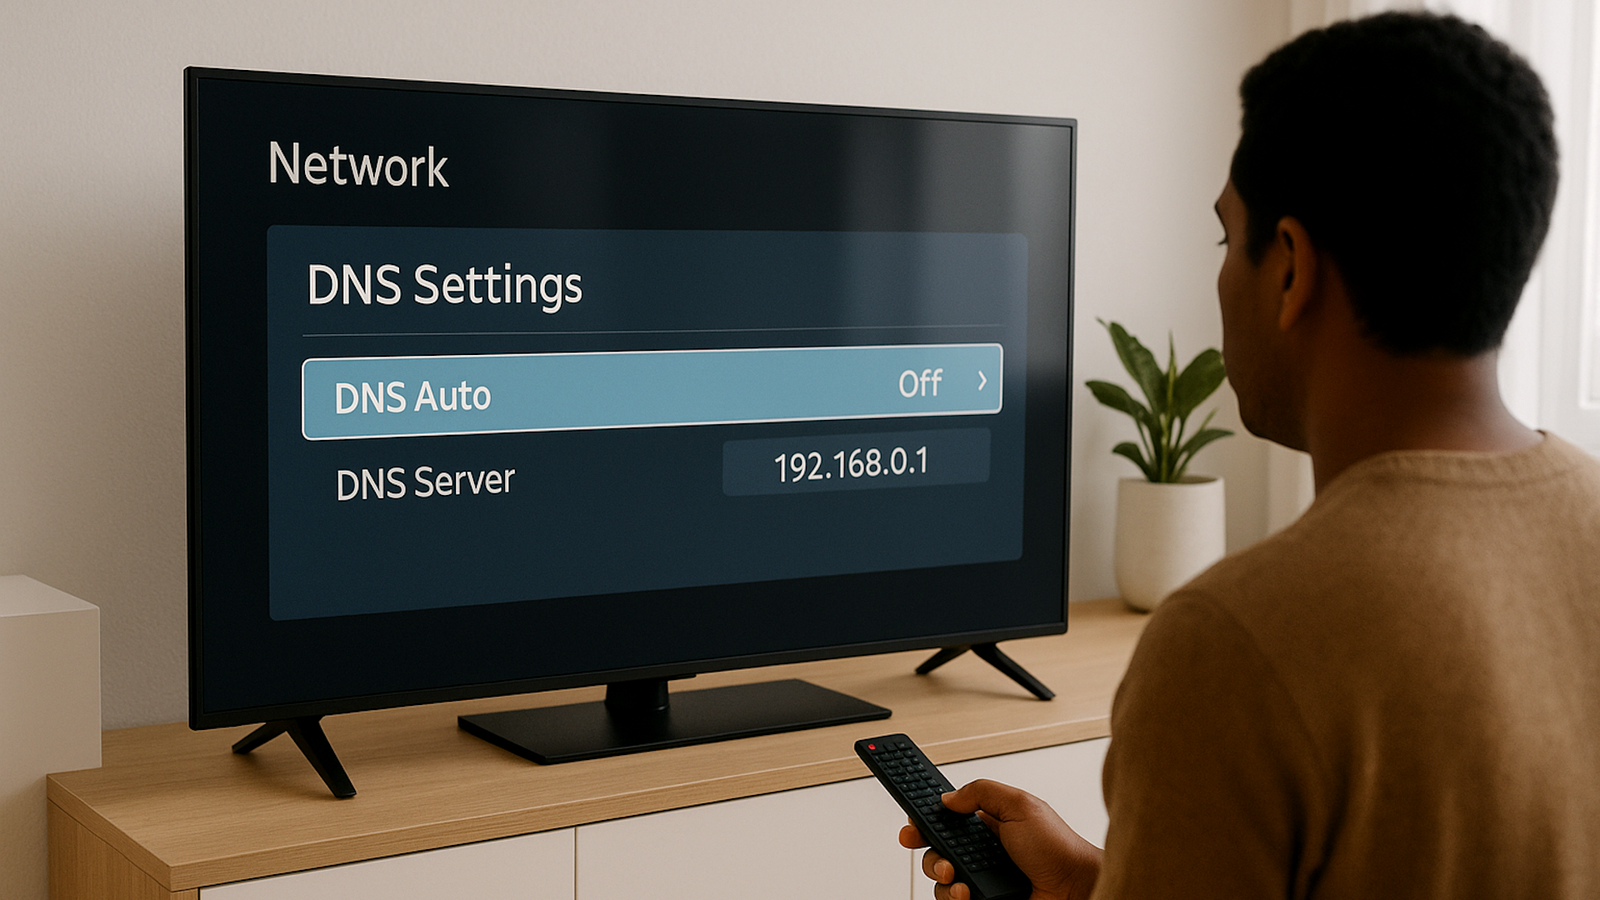
When your smart TV accesses streaming services like Netflix, it goes through a DNS server. This server translates human-readable URLs into IP addresses to find data on the internet. Although your ISP usually sets the default DNS, it might not always be the most efficient. Tweaking DNS settings not only improves Wi-Fi performance but also allows access to georestricted content.
Within the main menu, you’ll find the network settings, where you initially set up the Wi-Fi connection. For example, on my Vizio smart TV, I access the network settings under “Network.” The key is to completely forget your home network and then reconnect. If we’re starting fresh, might as well wipe out the old network settings too.
Ultimately, it’s all about placement. Position your router near the center of your home for optimal coverage. When using Wi-Fi extenders, ensure they are evenly distributed from the router to create a strong Wi-Fi web throughout your home, even reaching the dead spots. There are also other ways to enhance your Wi-Fi signal and DIY Wi-Fi extenders if you’re up for the challenge.
Instead of setting up a device hierarchy, segmenting your home network is a smart way to enhance security and improve the connection to your smart TV.
It’s surprisingly simple to access georestricted streaming content on your smart TV by adjusting the DNS settings. Look for the DNS options within your smart TV’s network settings. Make sure your IP address is set as “static” and, if available, input the DNS address. For instance, Cloudflare’s secure DNS server is 1.1.1.1, but there are various DNS servers to choose from.
Once everything is back online, test if resetting your router has solved the problem by trying out an app or streaming media. In my experience, this usually does the job. As a last resort, you could consider doing a factory default reset on your smart TV. This will erase all your data, requiring you to sign back in to streaming services and the network. Your picture settings will also be reset, but it could fix your connectivity issues.